Electric Cooker Installation Steps and Process in UK?
Electric cooker installation in the UK typically involves several steps, including the following:
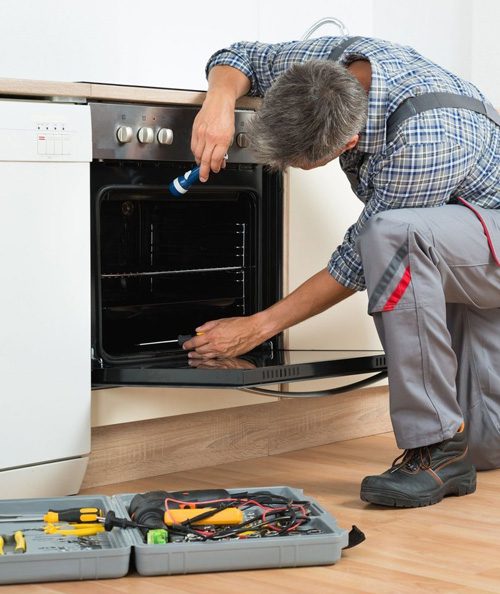
Electrical inspection: An electrician will perform a visual inspection of the area where the cooker will be installed, checking for any potential electrical hazards, and determining the requirements for wiring, circuits, and sockets.
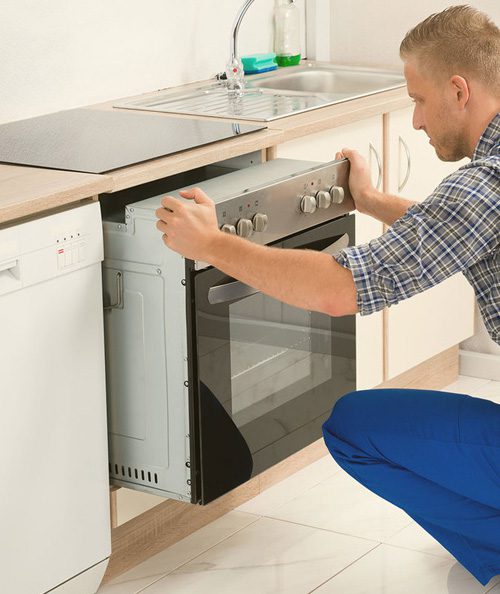
Wiring and installation: The electrician will wire the circuit and install the cooker. This involves connecting the cooker to the power source, installing the control panel, and testing the cooker to ensure it is working properly.
Certification: After installation, the electrician will issue a certificate of installation, which confirms that the installation complies with the relevant electrical safety regulations.
The cost of electric cooker installation in the UK can vary depending on several factors, such as the location, type of cooker, and the complexity of the installation. On average, electric cooker installation costs between £50 to £100. However, the price can be higher or lower depending on the specific circumstances.

It’s important to ensure that you hire a qualified electrician for the installation to ensure that it is done safely and correctly. The electrician should be registered with a reputable regulatory body, such as NICEIC or NAPIT, to ensure that they are qualified and competent to perform the installation. Additionally, it’s important to get a written quote from the electrician and ask about any potential additional costs upfront to avoid any surprises.
Do you need help with fitting your electric oven?
What are the Different Types of Electric Cookers in UK?
There are several different types of electric cookers available in the UK, each with their own features and benefits. Here are some of the most common types of electric cookers:
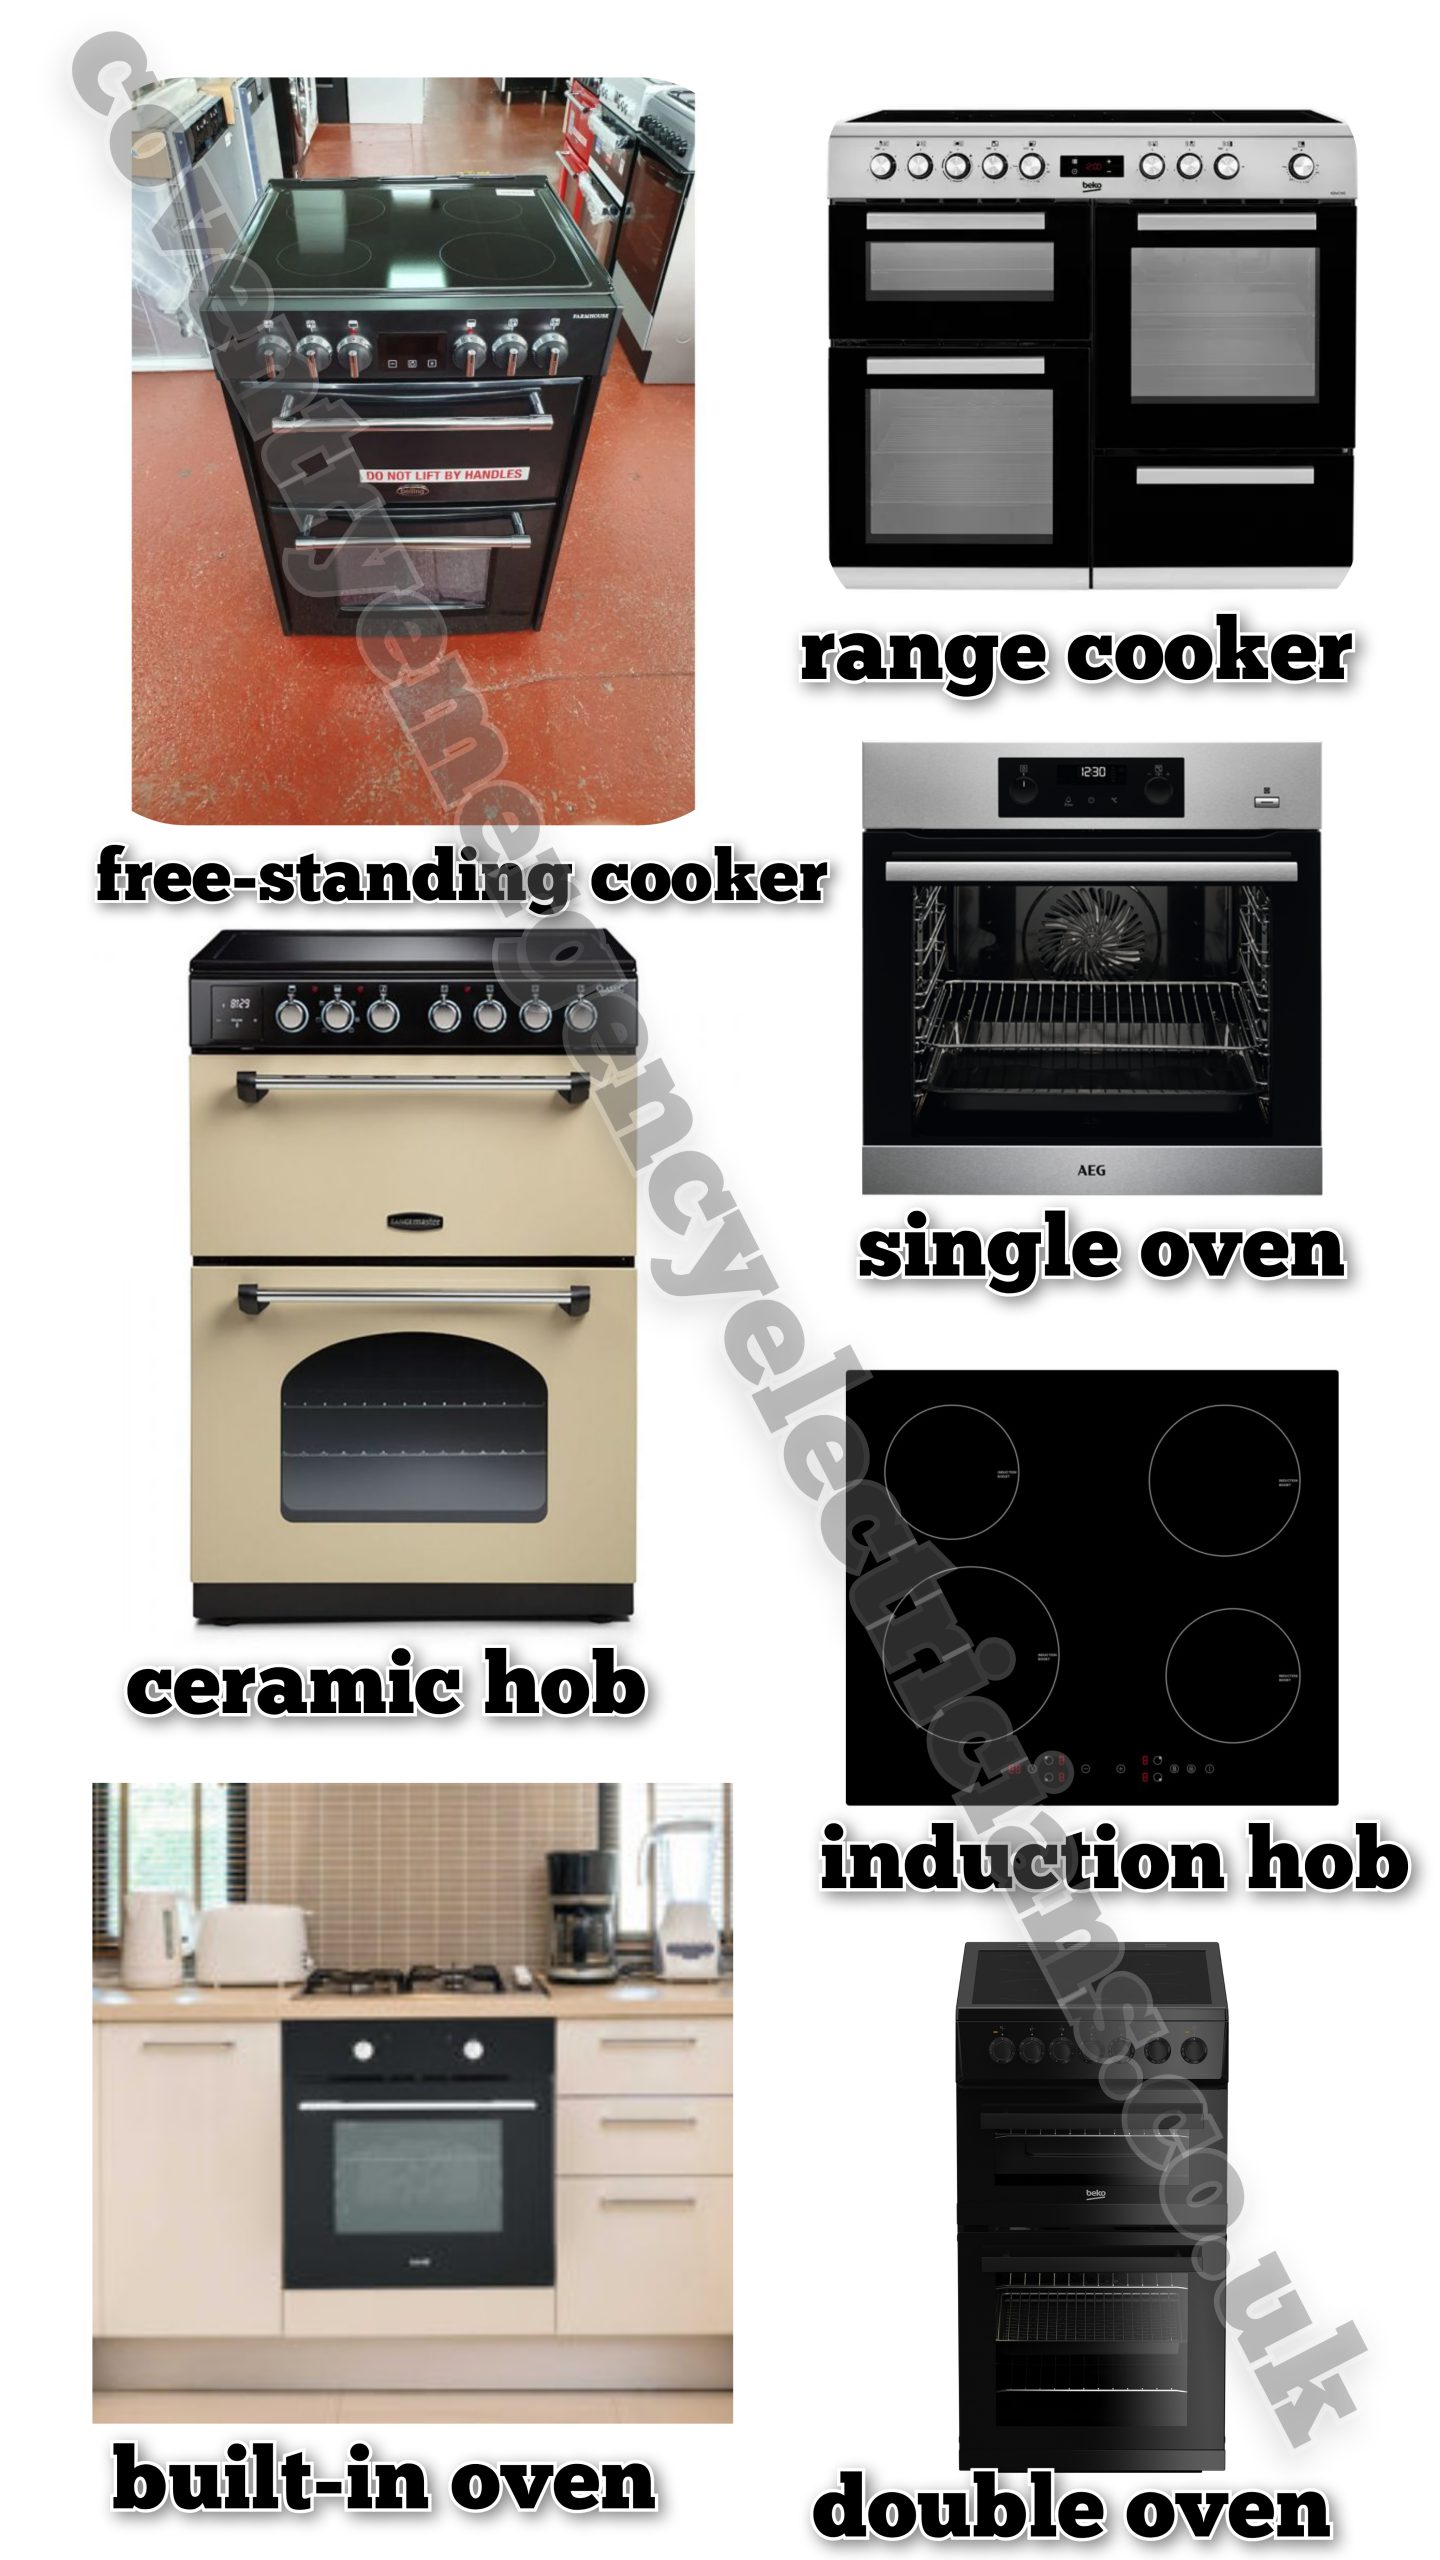
Freestanding electric cookers: These are the most common type of electric cooker in the UK. They have a built-in hob and oven, which can be positioned anywhere in the kitchen. They come in different sizes and can have different numbers of cooking zones.
Built-in electric cookers: These are designed to be integrated into kitchen units and are typically more expensive than freestanding cookers. They have a built-in hob and oven, and are available in a variety of sizes.
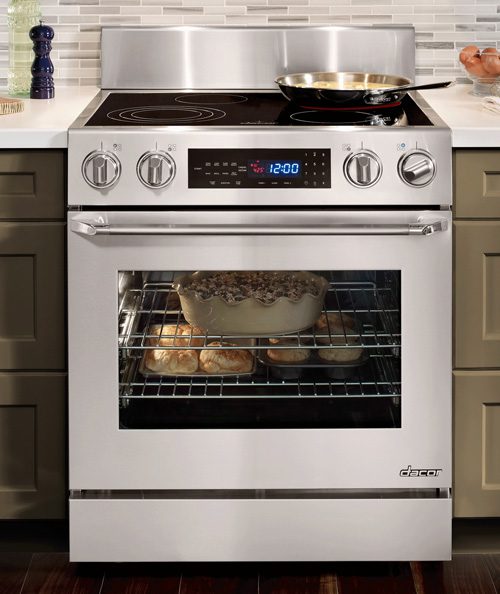
Range electric cookers: These are large electric cookers that usually have multiple ovens and hobs, providing a wide range of cooking options. They are often used in larger kitchens or by those who enjoy cooking for large groups of people.
Double oven electric cookers: These have two separate ovens, allowing you to cook different dishes at different temperatures at the same time. They are great for those who like to cook multiple dishes at once.

Single oven electric cookers: These have one oven and are typically less expensive than double oven cookers. They are great for those who don’t need to cook multiple dishes at once.
Ceramic hob electric cookers: These have a smooth, easy-to-clean surface and heat up quickly. They are a popular option for those who like to cook with multiple pots and pans at the same time.
Induction hob electric cookers: These use magnetic fields to heat the pan directly, rather than the surface of the hob. They are energy-efficient and heat up quickly.
When choosing an electric cooker, consider your cooking needs and kitchen space. It’s also important to ensure that the cooker you choose is installed safely and correctly by a qualified electrician.
Do you need help with fitting your electric oven?
How to Install an Electric Cooker?
Installing an electric cooker can be a complex process, and it’s important to ensure that it is done safely and correctly. Here is a step-by-step guide for electric cooker installation by a qualified electrician in the UK:
Check the electrical supply: Before installing the cooker, it’s important to check the electrical supply and ensure that it is suitable for the cooker. The electrician will check the voltage and amperage of the supply and determine whether any upgrades are necessary.
Prepare the area: The electrician will prepare the area where the cooker will be installed, ensuring that there is sufficient space and ventilation. They will also check that the wiring and socket are suitable for the cooker.
Disconnect the existing cooker: If there is an existing cooker, the electrician will disconnect it and remove it from the area.
Install the circuit: The electrician will install a new circuit or upgrade the existing one to ensure that it can handle the load of the new cooker.

Install the cooker: The electrician will install the cooker, connecting it to the wiring and the socket. They will ensure that the cooker is level and securely fixed in place.
Test the cooker: The electrician will test the cooker to ensure that it is working correctly and that there are no faults. They will check the temperature, fan, and lights to ensure that everything is functioning as it should.
Issue a certificate: Once the installation is complete, the electrician will issue a certificate of installation to confirm that the installation complies with the relevant electrical safety regulations.
It’s important to ensure that you hire a qualified electrician to install your electric cooker to ensure that it is installed safely and correctly. Additionally, you should never attempt to install the cooker yourself unless you are a qualified electrician.
Do you need help with fitting your electric oven?
How Much Do Electric Cooker Installations Cost in UK by an electrician?
The cost of electric cooker installation in the UK can vary depending on several factors, such as the location, type of cooker, and the complexity of the installation. On average, electric cooker installation costs between £60 to £170. However, the price can be higher or lower depending on the specific circumstances.
In addition to the installation cost, there may be additional costs for any necessary electrical upgrades, such as upgrading the circuit or socket. It’s important to get a written quote from the electrician and ask about any potential additional costs upfront to avoid any surprises.
It’s also important to ensure that you hire a qualified electrician for the installation to ensure that it is done safely and correctly. The electrician should be registered with a reputable regulatory body, such as NICEIC or NAPIT, to ensure that they are qualified and competent to perform the installation.

Frequently Asked Questions
Learn what it takes to install an electric cooker safely and correctly. From checking the electrical supply to testing the cooker, a qualified electrician can help guide you through the process. Discover the steps required for electric cooker installation in this comprehensive guide.
Yes, in the UK, it is required by law that electric cookers must be installed by a qualified electrician. This is because the installation of an electric cooker involves working with electricity, which can be dangerous if not done correctly. The electrical work involved in installing an electric cooker can be complex, and only a qualified electrician has the training and knowledge to ensure that the installation is done safely and correctly.
Moreover, if an electric cooker is not installed by a qualified electrician, it may void the manufacturer’s warranty or home insurance policy, which can be costly if something goes wrong.
It’s important to hire a qualified electrician who is registered with a reputable regulatory body, such as NICEIC or NAPIT, to ensure that the installation is done safely and correctly. The electrician will issue a certificate of installation to confirm that the installation complies with the relevant electrical safety regulations.
Ensure that your existing electrical connection, be it a plug socket or a big red switch, is compatible with the power requirements of your new cooker. If your new cooker has a power rating above 3kw, it will necessitate a 16Amp or 32Amp fuse, which is typically represented by a big red switch. Conversely, if your new cooker has a power rating below 3kw, a standard 12Amp fuse, represented by a typical plug socket, will suffice.
While it is possible to connect an electric cooker to a standard 13 amp socket, it is important to ensure that the appliance consumes no more than 3kW of power. Typically, the oven component of the cooker consumes the bulk of the power. Therefore, it is advisable to consult the user manual to determine the power consumption of the oven before connecting the appliance to the socket.
To prevent any undesirable consequences when using a cooker or hob, it is advisable to maintain a horizontal distance of at least 100mm between an electrical accessory and the edge of a freestanding cooker or standalone hob. This guideline is deemed appropriate for ensuring safe operation.
In order to comply with the wiring regulations, a local isolator switch must be installed in close proximity to the oven, thereby allowing for the safe isolation of the oven during maintenance or in the event of an emergency. As it stands, the current installation of the oven does not conform to the standards outlined in BS7671:2018 with out isolation switch.
Assuming you have employed a skilled professional to handle the task, the installation of your new electric oven should generally take approximately an hour. However, if there are complications with the wiring or the appliance, it could take closer to two hours to complete the installation process.
In such cases, it is recommended to relocate the electrical accessories to a safe location. It is advisable to carry out this task prior to fitting the new kitchen. Electrical components such as sockets, switched fused spurs, light switches, cooker switches, and hob isolators should not be positioned behind or directly above a hob or oven.
Activate the fan in the ventilation hood and open a few nearby windows, if feasible. Set the oven to a high heat setting, ranging from 400 to 550 degrees Fahrenheit (204 to 288 degrees Celsius). Allow the oven to operate at this temperature for approximately 30 minutes to an hour.

